CONNECTING HISTORIC HOME LOVERS WITH RICH ARCHITECTURE IN CINCINNATI & N. KENTUCKY

What we do…
At Cincinnati Historic Homes, we offer special expertise in buying and selling historic homes. With our decades of experience in real estate sales, restoration projects, and working with renovation lending, our team is the best choice to guide you through historic home ownership as well as new construction and resale homes. Historic properties often have their own unique set of challenges and our priority is to address these challenges with our clients. When working with sellers, we help navigate purchaser concerns around old home quirks and find solutions that obtain the best sales price for their home. When working with buyers, we have a vast knowledge of the area’s historic neighborhoods to assist in identifying the right home fit. Additionally, we can assist in connecting our clients to qualified contractors and lenders for any renovation project that might be needed to make their house into a home.
CLICK TO Search Historic NEIGHBORHOODS
Clifton Gaslight
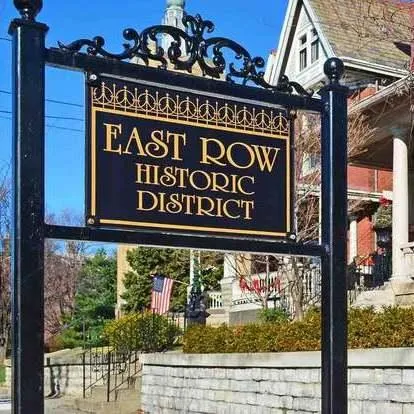
Covington
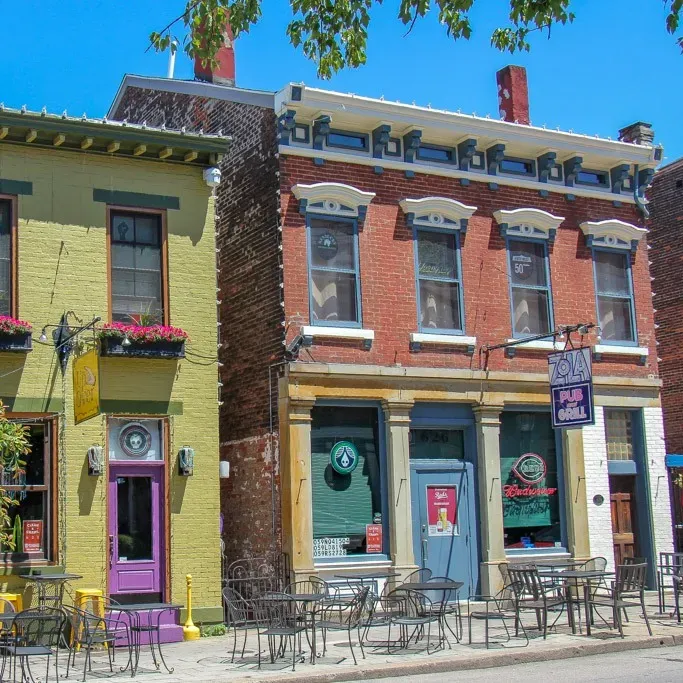
Newport
North Avondale
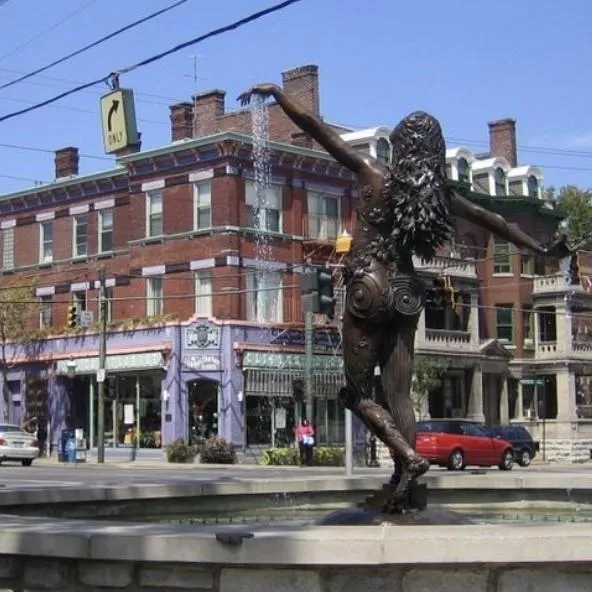
Northside
Price Hill Incline District
Walnut Hills

Westwood
MORTGAGE CALCULATOR
Location
Office Address
3505 Columbia Parkway